
Your back feels stiff, getting out of a chair has become a small production, and the internet recommends folding yourself into a pretzel. Let’s take a gentler approach.
The best yoga poses for back pain are not necessarily the deepest stretches or the most impressive shapes. They are movements you can perform comfortably, control easily and adapt to your symptoms. For some people with persistent, nonspecific lower-back pain, yoga can be a useful part of staying active. However, it is not a cure, and no single pose suits every back.
This guide explains six gentle options, practical modifications and how to try a short session without turning stretching into an endurance event.
Can yoga actually help back pain?
Research suggests yoga may offer modest improvements in pain and everyday function for some people with chronic lower-back pain. Much of that evidence concerns structured programs—not isolated poses performed once after a long day at a desk. Yoga is also not clearly superior to every other suitable exercise approach. See NCCIH’s low-back pain overview.
That distinction matters. A comfortable yoga practice may be one option alongside walking, strengthening and physical therapy. It does not need to become your entire recovery strategy. The six movements below are options to explore, not a scientifically ranked list of treatments.
Before you start: when stretching is not the answer
Seek emergency care if back pain occurs with new bladder or bowel problems, loss of feeling around your genitals or anus, symptoms affecting both legs, or after a serious accident. In the United States, call 911 when necessary.
Get prompt medical advice for back pain accompanied by fever or feeling unwell, sudden severe pain, or pain that is rapidly worsening. Unexplained weight loss, persistent night pain and symptoms that interfere with daily activities also warrant assessment. Read the NHS back-pain guidance.
If you have osteoporosis, a diagnosed spinal condition, recent surgery, pregnancy or an existing injury, ask a healthcare professional which movements are appropriate before starting. A qualified yoga instructor can help adapt the practice. NCCIH explains yoga safety and modifications.
For everyone else, use a simple rule: do not push through pain to complete a pose. Stop if you develop sharp pain, tingling, numbness, weakness or pain spreading farther down a leg.
Yoga poses for back pain: quick comparison
| Pose or variation | What you practise | Easier option | Main caution |
|---|---|---|---|
| Gentle Cat–Cow | Slow spinal movement | Seated Cat–Cow | Avoid exaggerated arching |
| Supported Child’s Pose | Resting in a forward fold | Support chest on a cushion | Skip if forward bending hurts |
| Single Knee-to-Chest | Gentle hip and back movement | Bring knee only partway in | Do not pull forcefully |
| Low Bridge | Controlled hip lifting | Lift only a few inches | Avoid pressure on your neck |
| Seated Cat–Cow | Small movements without kneeling | Reduce the range | Keep the chair stable |
| Supported Rest | Comfortable positioning and breathing | Side-lying with pillows | Change position if uncomfortable |
Start with one or two comfortable choices. You do not need to complete the whole table.
1. Gentle Cat–Cow
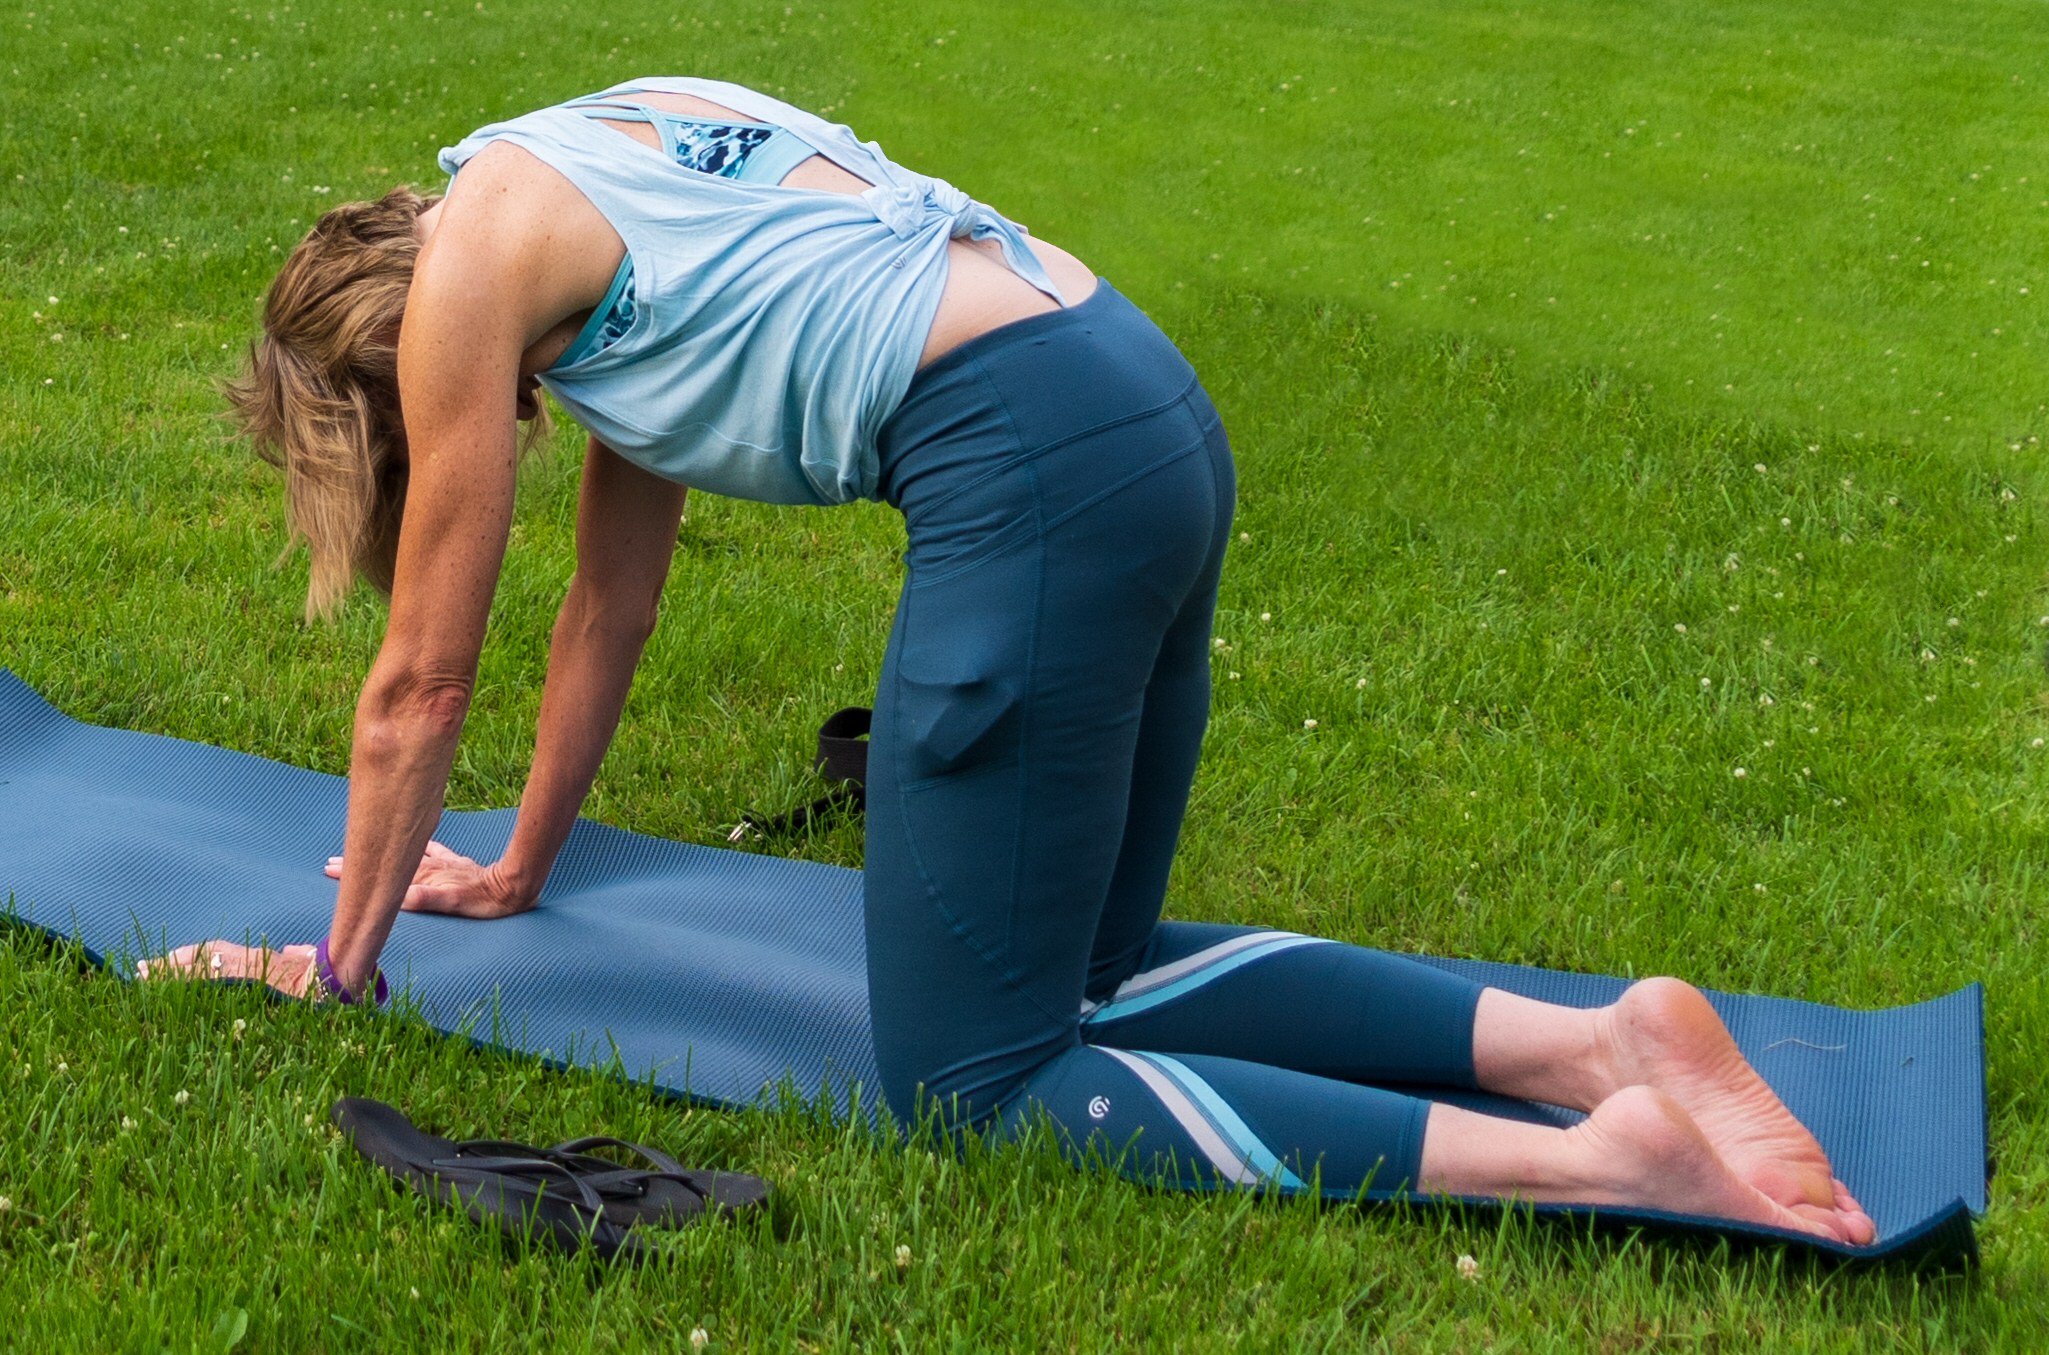
Cat–Cow alternates between a small rounding and a small arching movement. Think smooth motion—not a competition to create the biggest curve.
How to try it
Position yourself on hands and knees. Slowly round your back, then return through a comfortable neutral position into a slight arch. Keep your head moving naturally with your torso. Try three to five unhurried cycles initially.
Make it easier: Cushion your knees. If your wrists dislike weight-bearing, use the seated version below.
Avoid: Throwing your head backward, dropping abruptly into the arch or forcing either end position.
The Arthritis Foundation includes Cat–Cow among its accessible yoga movements for spinal mobility. See its arthritis-friendly yoga guidance.
2. Supported Child’s Pose
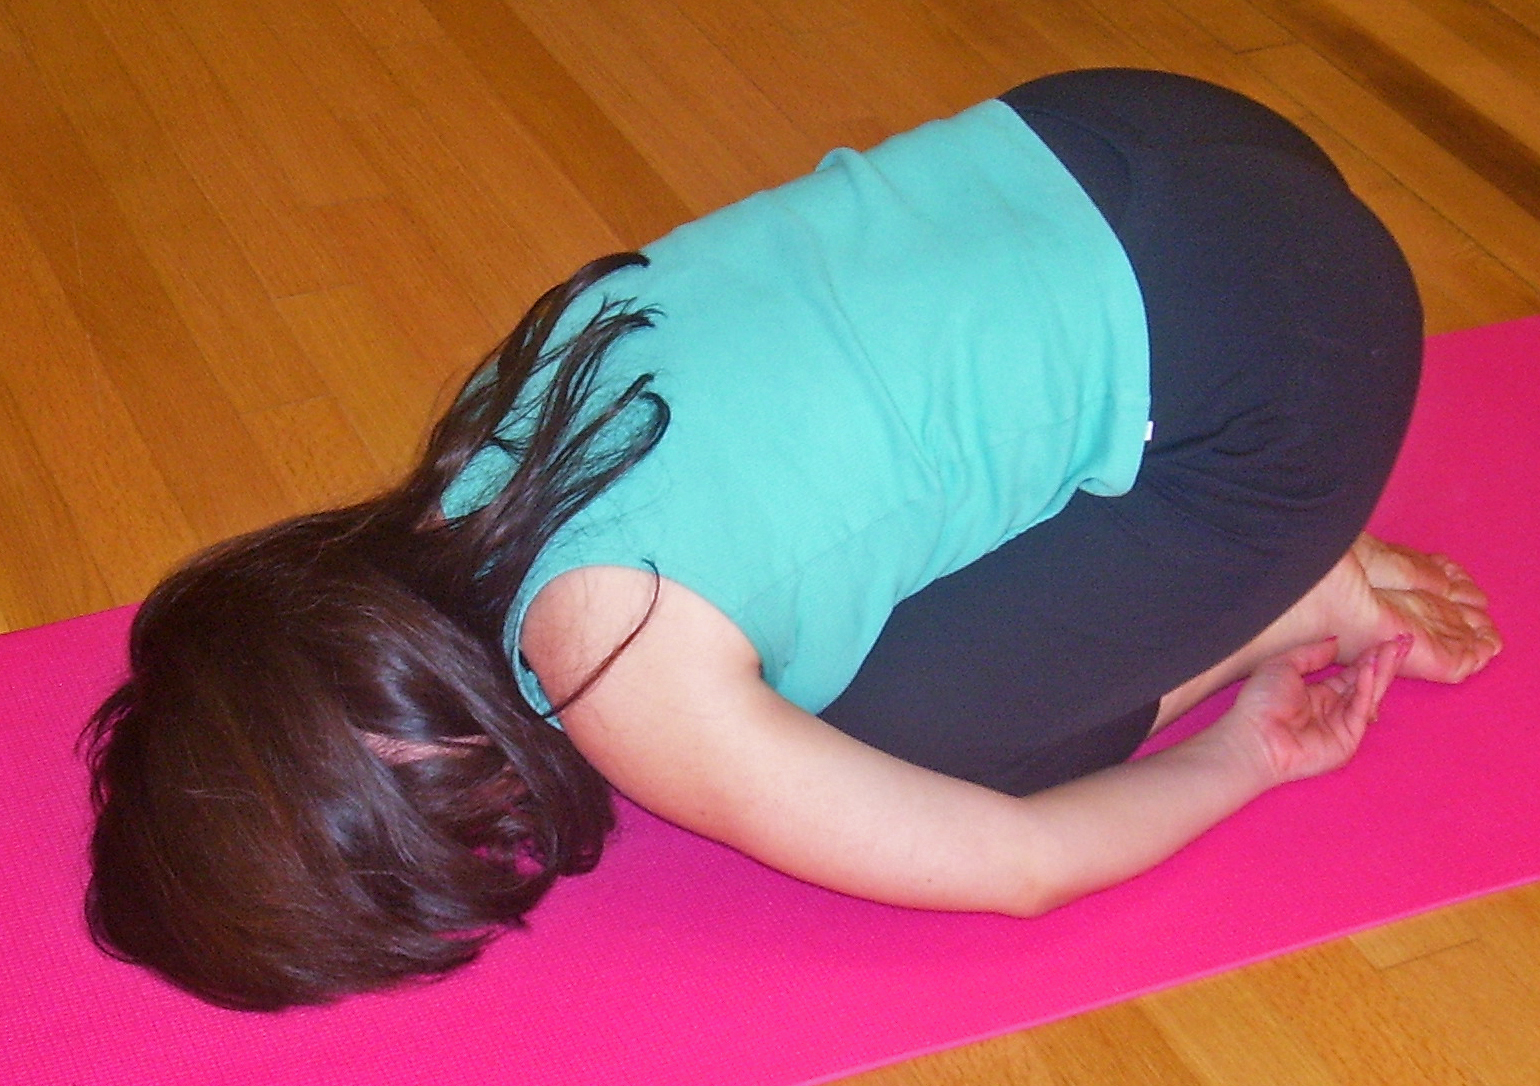
Child’s Pose is a resting position, but it does not feel restful for everyone. Forward bending or deep knee bending can aggravate some symptoms. A supported version gives you more control over how far you move.
How to try it
- Kneel on a cushioned surface.
- Place a firm pillow or bolster in front of you.
- Slowly shift your hips backward only as far as comfortable.
- Rest your chest or forearms on the support.
- Take two or three easy breaths, then come out slowly.
Your hips do not have to touch your heels. Your forehead does not have to reach the floor. The floor is not awarding points.
Make it easier: Use a higher support and stay more upright.
Skip it if: It increases back pain, compresses your knees or causes symptoms in your legs. Do not try to stretch through those sensations.
3. Single Knee-to-Chest
This yoga-style movement is also commonly used in basic back-exercise routines. A small range is enough to explore whether the position feels comfortable.
How to try it
Lie on your back with both knees bent and feet resting on the floor. Gently bring one knee toward your chest, pause briefly, then return your foot to the floor. Alternate sides without tugging.
Make it easier: Move the leg only partway toward you.
Avoid: Pulling hard, holding your breath or assuming a stronger stretch is more useful.
Mayo Clinic includes knee-to-chest movements in its back-exercise guidance and advises people with ongoing pain or a back injury to discuss suitable activities with their healthcare team.
4. Low Bridge
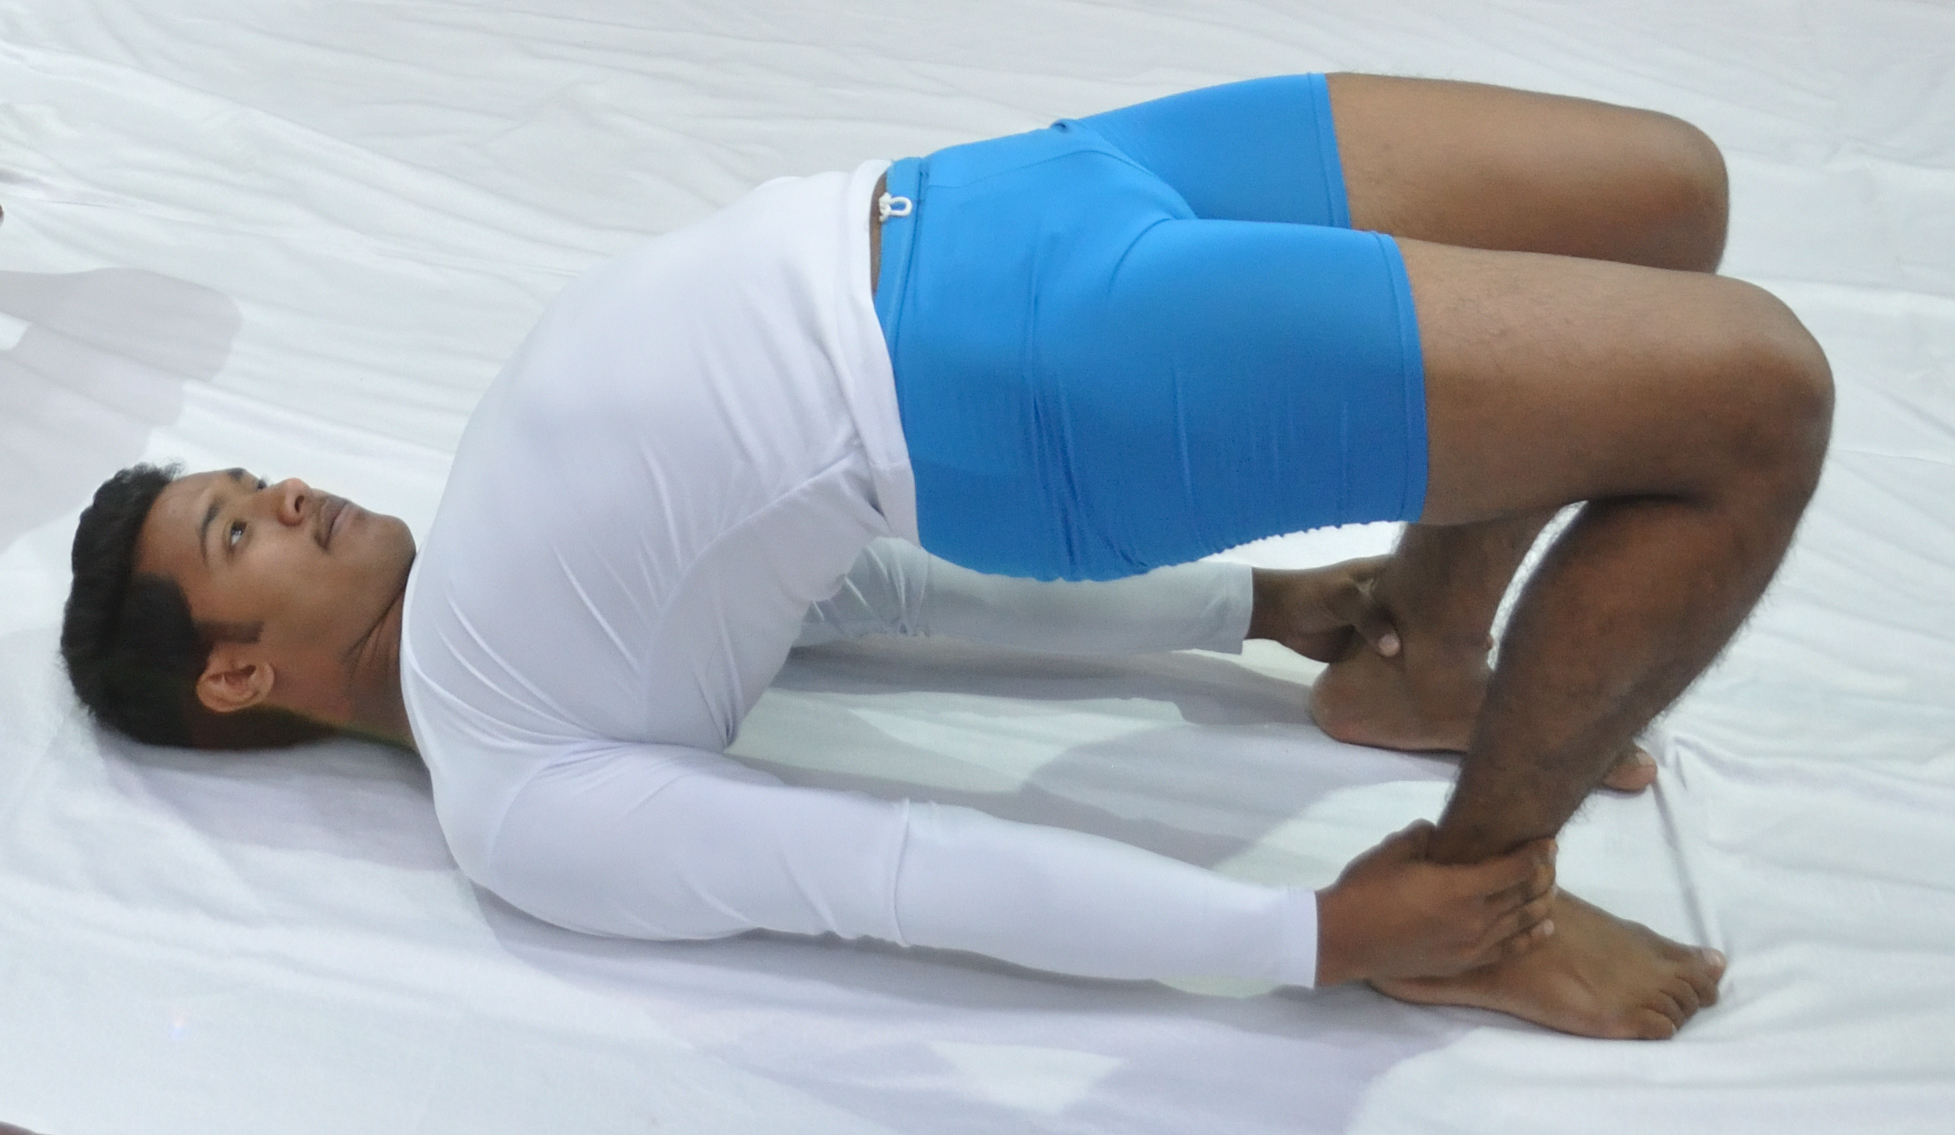
Not every useful movement involves stretching. A low bridge introduces gentle muscular work and controlled movement around the hips. This is the small, accessible bridge—not the dramatic hands-and-feet backbend sometimes called Wheel Pose.
How to try it
With your knees bent and feet on the floor, gently engage your abdomen and buttocks. Lift your hips a short distance, pause while breathing normally, then lower with control. Begin with a few comfortable repetitions.
Make it easier: Keep the lift very low.
Avoid: Seeking maximum height, arching aggressively or turning your head while elevated. Keep pressure away from your neck.
Stop if you feel pinching or increased back symptoms. Bridge movements also appear in Mayo Clinic’s back-exercise guidance; that does not mean they suit every condition.
5. Seated Cat–Cow
Floor exercises are optional. If kneeling is uncomfortable or getting down and up is difficult, a sturdy chair provides another starting point.
How to try it
- Sit on a stable chair with your feet supported.
- Rest your hands on your thighs.
- Gently round your upper body a little.
- Return upright, then lift your chest slightly.
- Repeat slowly within a comfortable range.
Let your pelvis and chest move together rather than forcing movement into one spot.
Make it easier: Make the movement almost invisible. Small, controlled motion still counts.
Avoid: Using a rolling chair, jerking backward or treating your neck as the main moving part. This is an accessibility variation, not a separate treatment proven to outperform floor-based yoga.
6. Supported Rest With Comfortable Breathing
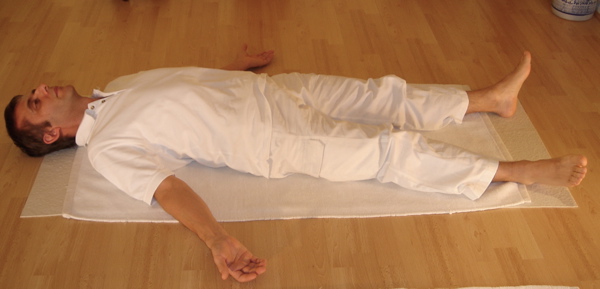
Sometimes the most useful finish is simply finding a position that lets you settle. Supported rest is not a magic spinal reset. It is a chance to pause without demanding another stretch.
How to try it
Lie on your back with your knees bent, or place a pillow beneath them if comfortable. Alternatively, rest on your side with a pillow between your knees. Let your breathing stay easy. There is no need to inhale dramatically or hold your breath.
Make it easier: Adjust the pillows, shorten the pause or choose a different position.
Avoid: Remaining still because a timer says so when your body is asking to move.
A short beginner session
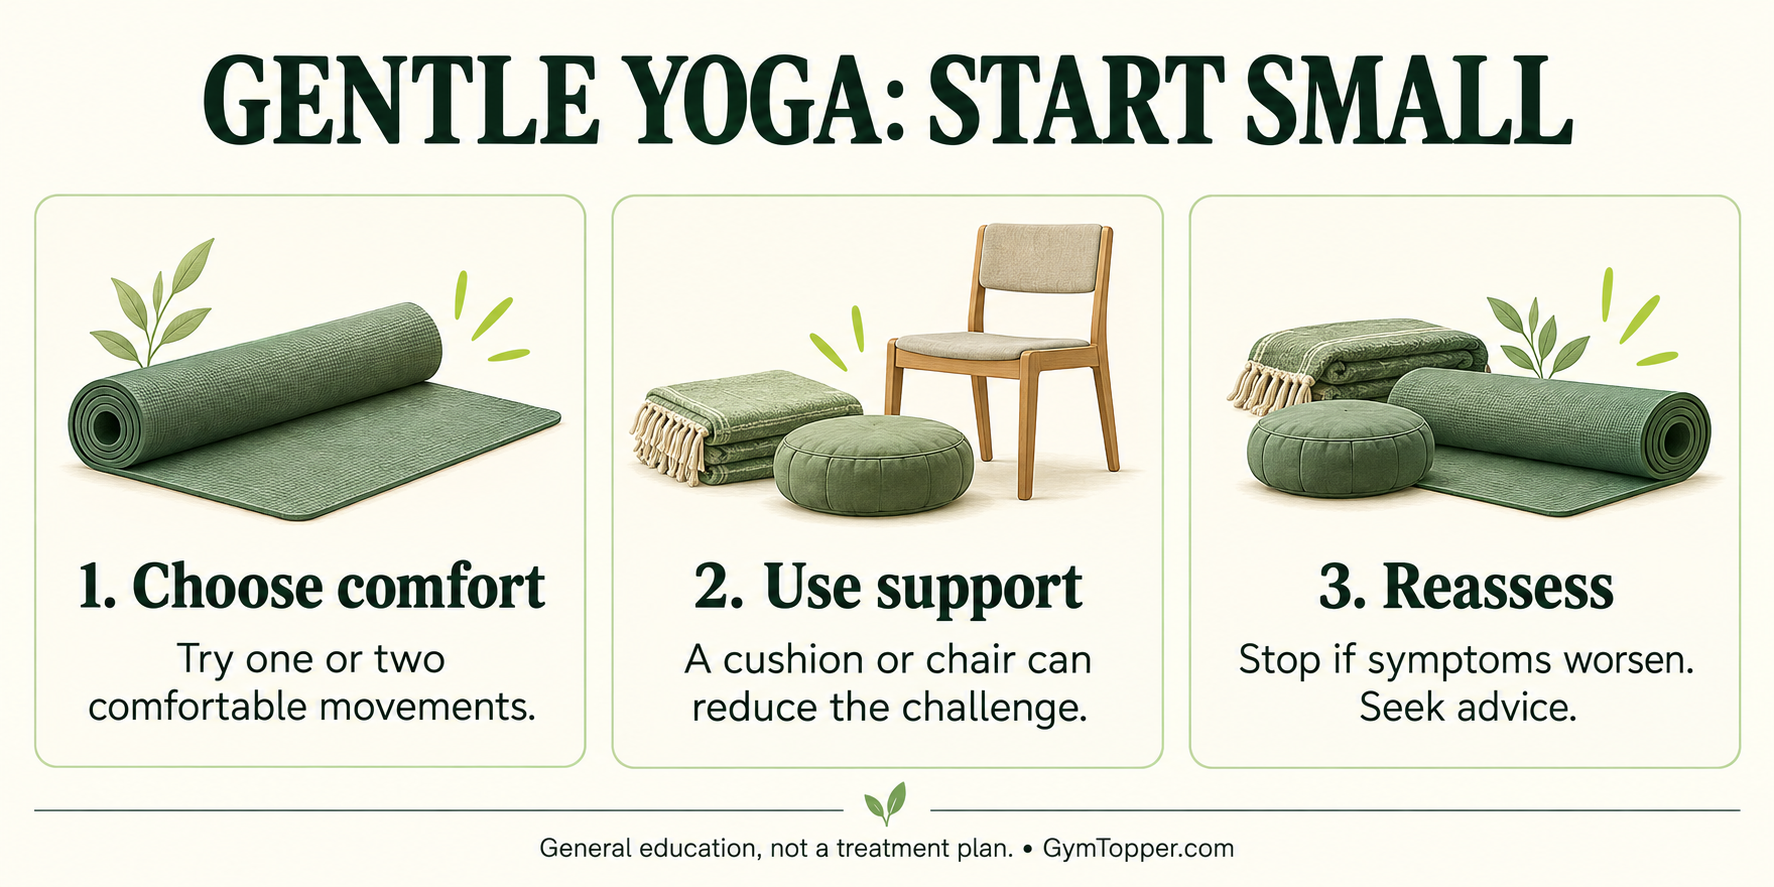
Treat this as a flexible practice outline—not a prescribed rehabilitation routine.
- Begin with a comfortable resting position and several normal breaths.
- Try a few gentle Cat–Cow movements, seated or on the floor.
- Choose either supported Child’s Pose or a small knee-to-chest movement, if comfortable.
- Add a few low bridges only if they feel appropriate.
- Finish in a comfortable position.
Transitions can be slow. Skip anything that does not suit you. An initial session may take only a few minutes, and that is fine. Notice how you feel afterward and later that day. If symptoms worsen or remain aggravated, stop the routine and seek advice rather than repeating it more intensely.
Common mistakes that make gentle yoga less gentle
Chasing a bigger stretch
The objective is comfortable movement, not collecting flexibility achievements. More range is not automatically better.
Copying an advanced instructor
A demonstration shows someone else’s available movement. It does not establish the range your back needs.
Doing everything at once
Trying six unfamiliar movements makes it harder to identify what agrees with you. Introduce changes gradually.
Treating yoga as a diagnosis
A pose feeling good does not reveal the cause of your pain. A pose feeling uncomfortable does not, by itself, identify an injury.
Replacing all other activity with stretching
Yoga can be one part of an active routine. Staying active within your abilities is generally encouraged for back pain, rather than prolonged bed rest. Build activity around professional advice when you have ongoing symptoms.
Frequently asked questions
What is the best yoga pose for lower-back pain?
There is no universal winner. A small Cat–Cow movement may feel comfortable for one person, while another prefers supported rest. Your symptoms and medical history matter more than a pose’s popularity.
Is Child’s Pose always safe for back pain?
No. Some people find forward bending uncomfortable, and kneeling can aggravate knee problems. Use support, reduce the range or leave it out.
Should I do yoga every day?
Not necessarily. Start with brief, comfortable practice and assess your response. A healthcare professional can help establish frequency when you are managing an ongoing condition.
Can yoga cure a slipped disc or sciatica?
Do not rely on yoga to cure either condition. Symptoms involving nerves need appropriate assessment, and movements may require individual modification.
How quickly should yoga help?
There is no guaranteed timetable. Research generally evaluates programs over time, not instant results from one pose. Persistent or worsening pain should not be managed by endlessly adding stretches.
The bottom line
The best yoga poses for back pain are the ones that fit your circumstances—not the ones that look most impressive. Start small, use support and keep your breathing comfortable. Leave out movements that aggravate symptoms, and get professional guidance when pain is persistent, unexplained or worsening.
Your first goal is not touching your toes. It is finding a manageable way to move.
New to exercise more generally? Explore our beginner gym hub. For readers cleared to progress their training, our balance and core guide explains additional exercise options; it is not a back-pain rehabilitation plan.
Editorial disclosure: AI-assisted educational article, checked against the linked health sources. No individual medical assessment or firsthand clinical testing is claimed. Photographs are third-party real photography, credited above; pictured people and photographers do not endorse this article.
Leave a Reply