

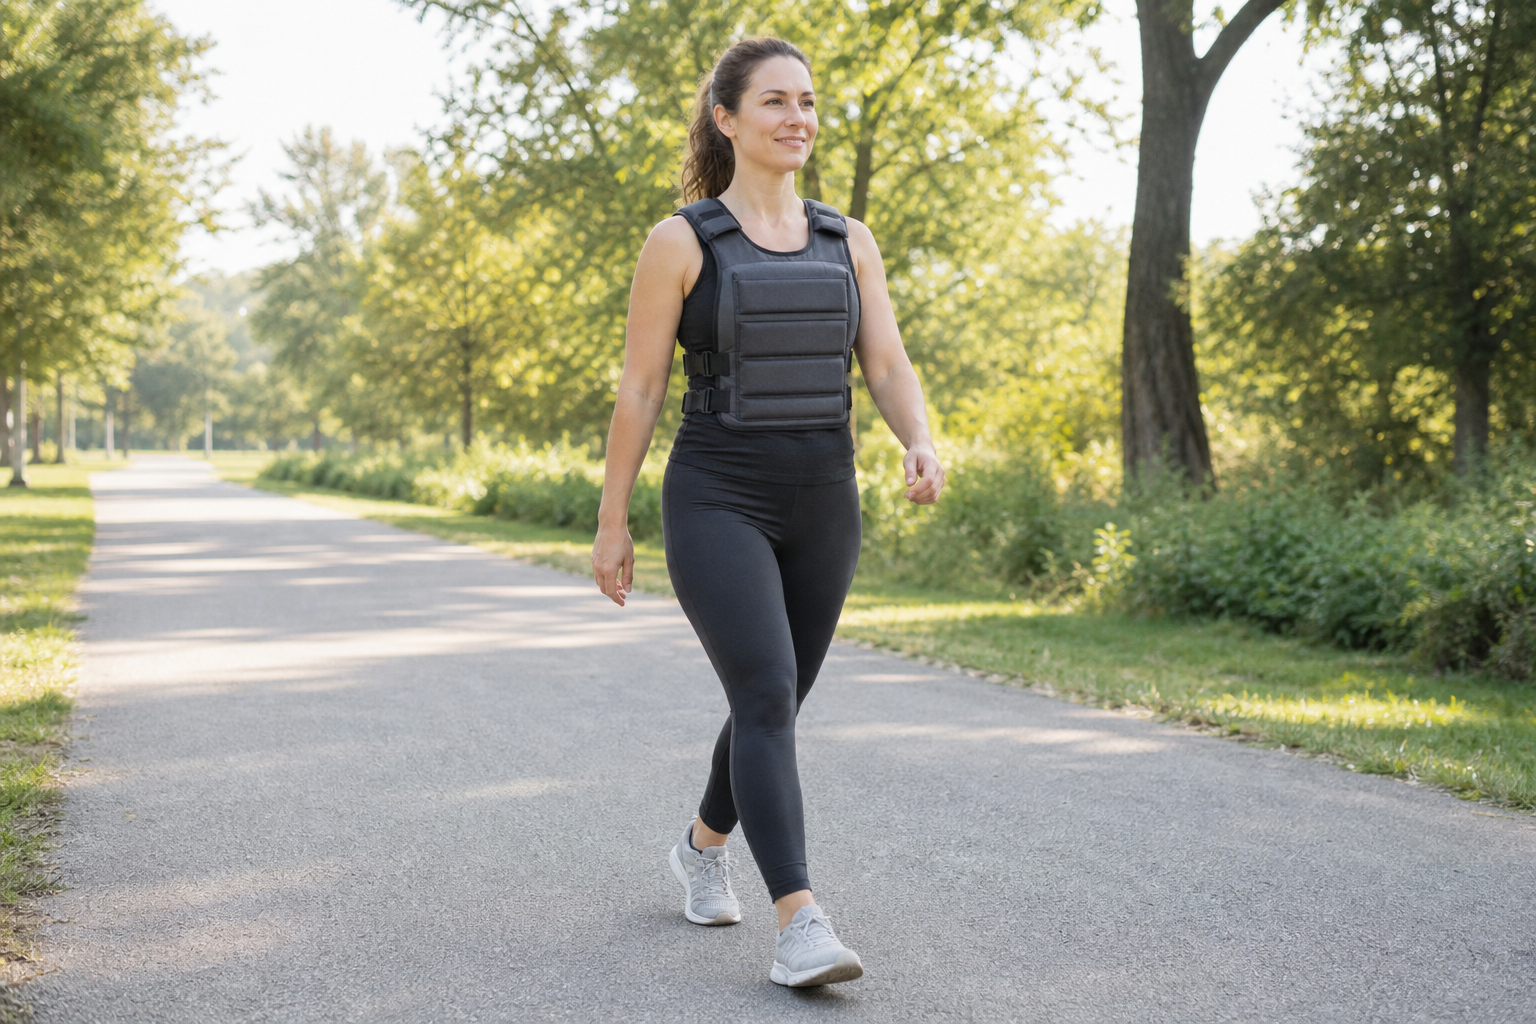
Weighted-vest walking sounds almost suspiciously simple: put on a vest, go for a walk, and let gravity send you an invoice. Done sensibly, it can make a familiar route more demanding without requiring running speed. Done recklessly, it can turn a pleasant stroll into an argument with your knees, feet, or lower back.
This beginner guide explains how weighted-vest walking changes a workout, how much weight to start with, and how to progress across four weeks. If you need help selecting an adjustable model, compare fit, load range, comfort, and price in our guide to the best weighted vests for walking and workouts.
Quick answer: Start with an unloaded walk first. If that feels comfortable, use a vest around 3% to 5% of your body weight for 10 to 15 minutes. Keep the pace easy, add time gradually, and avoid increasing weight and duration in the same week.
What is weighted-vest walking?
It is ordinary walking while wearing a vest that distributes added load around your torso. The vest increases the work required to move your body. Small studies show that weighted vests can raise physiological demand and the metabolic cost of walking. That does not mean every walk needs extra weight, or that heavier is automatically better.
Weighted walking is different from carrying dumbbells. A well-fitted vest keeps the load closer to your center of mass and leaves your hands free. It is also different from a backpack because the load can be distributed across the front and back rather than hanging mainly behind you.
Potential benefits
- More challenge at the same speed: The added load can increase effort without forcing you to jog.
- Convenient progression: Adjustable vests let you add small increments as fitness improves.
- Specific preparation: Hikers, tactical athletes, and people who carry equipment may benefit from carefully planned load carriage.
- Variety: A short loaded walk can make a familiar routine feel new.
Be skeptical of claims that a vest automatically burns a precise percentage of extra calories, prevents bone loss, or melts fat from a particular area. Energy expenditure depends on load, speed, terrain, body size, and fitness. A recent randomized trial in older adults with obesity did not find that weighted-vest use prevented hip bone loss during weight reduction, reminding us that one tool cannot promise every outcome.
Who should not start without professional advice?
Ask a healthcare or rehabilitation professional first if you have osteoporosis, a recent fracture, significant arthritis, balance problems, pelvic-floor symptoms, cardiovascular disease, pregnancy-related restrictions, or recurring pain in your neck, back, hips, knees, ankles, or feet. A vest is not a treatment for pain.
How heavy should a beginner’s weighted vest be?
A conservative starting point is roughly 3% to 5% of body weight. Someone weighing 180 pounds might begin around 5 to 9 pounds. This is a practical starting range, not a universal prescription. If the lightest available vest changes your posture or stride, it is too heavy for today’s session.
| Body weight | 3% load | 5% load |
|---|---|---|
| 120 lb | 3.6 lb | 6 lb |
| 150 lb | 4.5 lb | 7.5 lb |
| 180 lb | 5.4 lb | 9 lb |
| 220 lb | 6.6 lb | 11 lb |
Round down to the nearest load your vest supports. You do not win a medal for starting at 10%. Your joints do not read motivational captions.
Your 4-week weighted-vest walking plan
Complete ordinary unweighted walks on other days if they feel good. Use a flat, predictable route for loaded sessions. Warm up for five minutes without the vest or with it completely unloaded; our beginner warm-up guide offers additional ideas.
| Week | Loaded walks | Load | Duration |
|---|---|---|---|
| 1 | 2 | About 3% body weight | 10–15 minutes |
| 2 | 2 | Same load | 15–20 minutes |
| 3 | 2–3 | Same load | 20–25 minutes |
| 4 | 2 | Add 1–2 lb only if form is excellent | 20–25 minutes |
Week 1: Test fit and tolerance
Take two easy, flat walks lasting 10 to 15 minutes. Keep the load near 3% of body weight. You should be able to speak in complete sentences. After each walk, note any rubbing, pressure, foot discomfort, or unusual soreness during the next 24 hours.
Week 2: Add minutes, not weight
Keep the same load and extend each session to 15 to 20 minutes. A vest that felt fine for ten minutes may expose fit problems during a longer walk. Tighten it enough to limit bouncing without restricting breathing.
Week 3: Build consistency
Perform two or three loaded walks of 20 to 25 minutes. Keep at least one day between them. Maintain normal steps rather than leaning forward or deliberately lengthening your stride.
Week 4: Choose one progression
If every session felt comfortable and your stride remained normal, add one or two pounds while returning to the shorter end of the duration range. Alternatively, keep the original load and add five minutes. Do not add load, time, speed, hills, and heroic optimism all at once.
Form cues that matter
- Stand tall with ribs stacked over your pelvis.
- Keep your head neutral and look forward.
- Use a natural stride and quiet foot contact.
- Let your arms swing unless terrain requires support.
- Keep the vest snug and evenly loaded from side to side.
- Slow down before adding hills.
Weighted vest versus incline walking
Both can make walking harder. Incline increases demand without placing extra mass on your torso, while a vest adds load on flat ground and during daily movement. Beginners may find incline easier to control because a treadmill lets them lower the grade immediately. A vest is portable but requires better load management. Choose the option that lets you maintain comfortable posture without pain.
Common mistakes
Starting too heavy: More load is not more sophisticated. Wearing it every day: Loaded walking is training, not a permanent wardrobe decision. Running immediately: Running magnifies impact and should not be your first progression. Ignoring fit: Bouncing, chafing, or restricted breathing means adjustment is needed. Using pain as a score: Stop for sharp pain, joint pain, numbness, chest discomfort, dizziness, or a change in your walking pattern.
Frequently asked questions
How often should beginners walk with a weighted vest?
Two sessions per week is a sensible starting point. Add a third only after several comfortable weeks and keep unweighted walking in the program.
Does weighted-vest walking build muscle?
It can increase muscular demand, particularly for the legs and trunk, but it does not replace progressive resistance training through a useful range of motion. Combine it with strength exercises.
Can I wear a vest on a treadmill?
Yes, if the treadmill’s user-weight limit accommodates your body plus the vest and you can walk without holding the rails. Start flat and slow.
The bottom line
Weighted-vest walking works best when it remains walking: smooth, controlled, and repeatable. Start light, add duration first, and let excellent form earn the next progression. The vest should make the walk more challenging—not turn every curb into an extreme sport.
Sources: weighted-vest walking and running study; randomized clinical trial of weighted-vest use.
Leave a Reply