
A resistance band workout for beginners can make strength training more convenient without filling your living room with equipment. A few bands fit in a drawer, travel easily, and offer plenty of ways to challenge your muscles. The important part is learning a stable setup and repeating a manageable routine.
This guide explains what to buy, how to check your equipment, and how to organize a simple full-body session. You will also find an exercise table, a practical weekly schedule, and answers to common questions. The sample routine is an educational starting point for generally healthy adults; adjust it to your ability and get individual guidance if you have pain, an injury, or a medical condition.
Can resistance bands build strength?
Yes. Bands provide resistance that your muscles must work against. Unlike a dumbbell, a band usually becomes harder to stretch as it lengthens. That means the exercise can feel easier in one part of the movement and more demanding in another. Control matters throughout the return as well as the lift.
The ACSM 2026 resistance-training update identifies elastic bands and home-based routines as effective training options. The practical takeaway is that useful strength work does not require a particular machine or an expensive membership. Your routine still needs sufficient effort, consistency, and a way to progress.
Bands also have limitations. Measuring resistance precisely is difficult, strong bands can feel awkward, and careless anchoring creates avoidable risks. Treat them as real exercise equipment, not harmless oversized stationery. A snapping rubber band was annoying at school; the fitness version deserves more respect.
Choose the right type of band
| Type | Useful features | Beginner consideration |
|---|---|---|
| Long loop | Versatile for standing and pulling movements | Grip and setup take practice |
| Tube with handles | Comfortable handles for rows and curls | Inspect handle connections carefully |
| Flat therapy band | Light resistance and adjustable grip | Avoid overstretching or wrapping tightly |
| Mini loop | Convenient for some lower-body movements | Not a complete replacement for long bands |
Start with light and medium options from a manufacturer that provides clear instructions. Color codes are not standardized between brands. A green band from one company can feel completely different from another. Printed pound ranges also depend on stretch length and should not be treated as equivalent to dumbbell weights.
Check the material if you have a latex allergy. Look for a suitable latex-free product and read its care instructions. More accessories do not automatically make a set better. Buy equipment that matches exercises you understand, rather than a bag containing seventeen mysterious straps and a motivational leaflet.
Check your equipment before every session
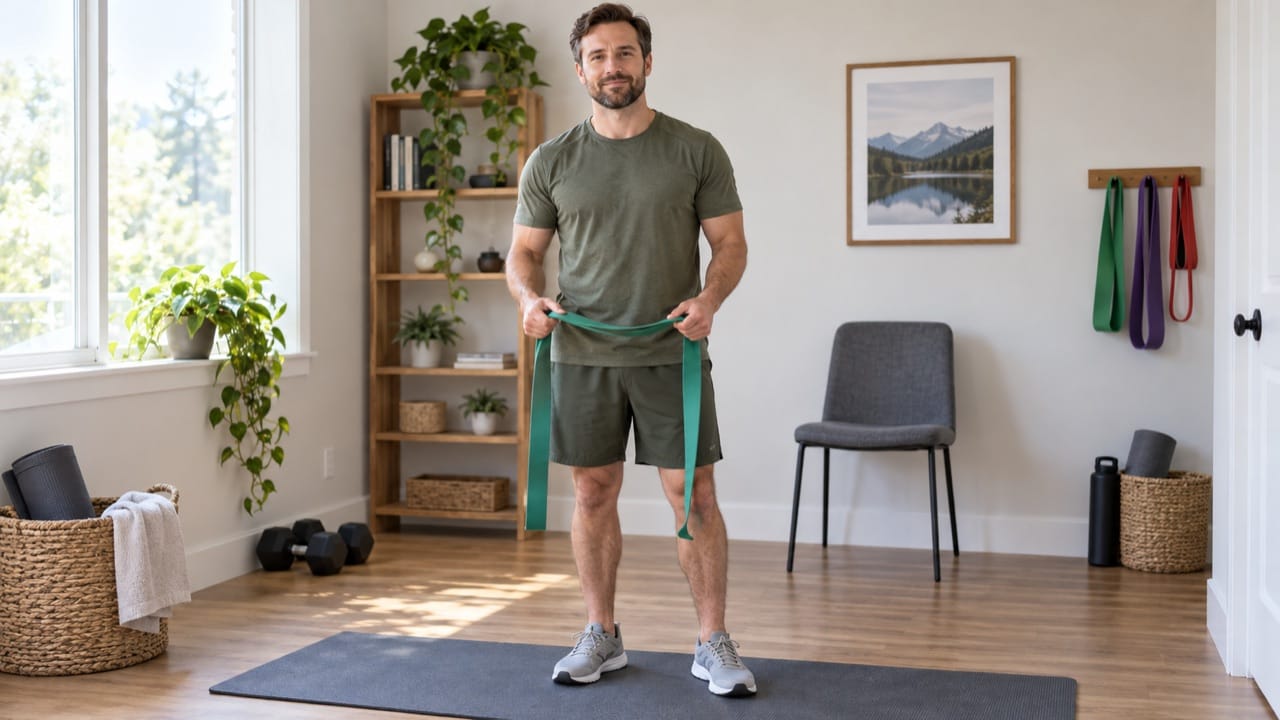
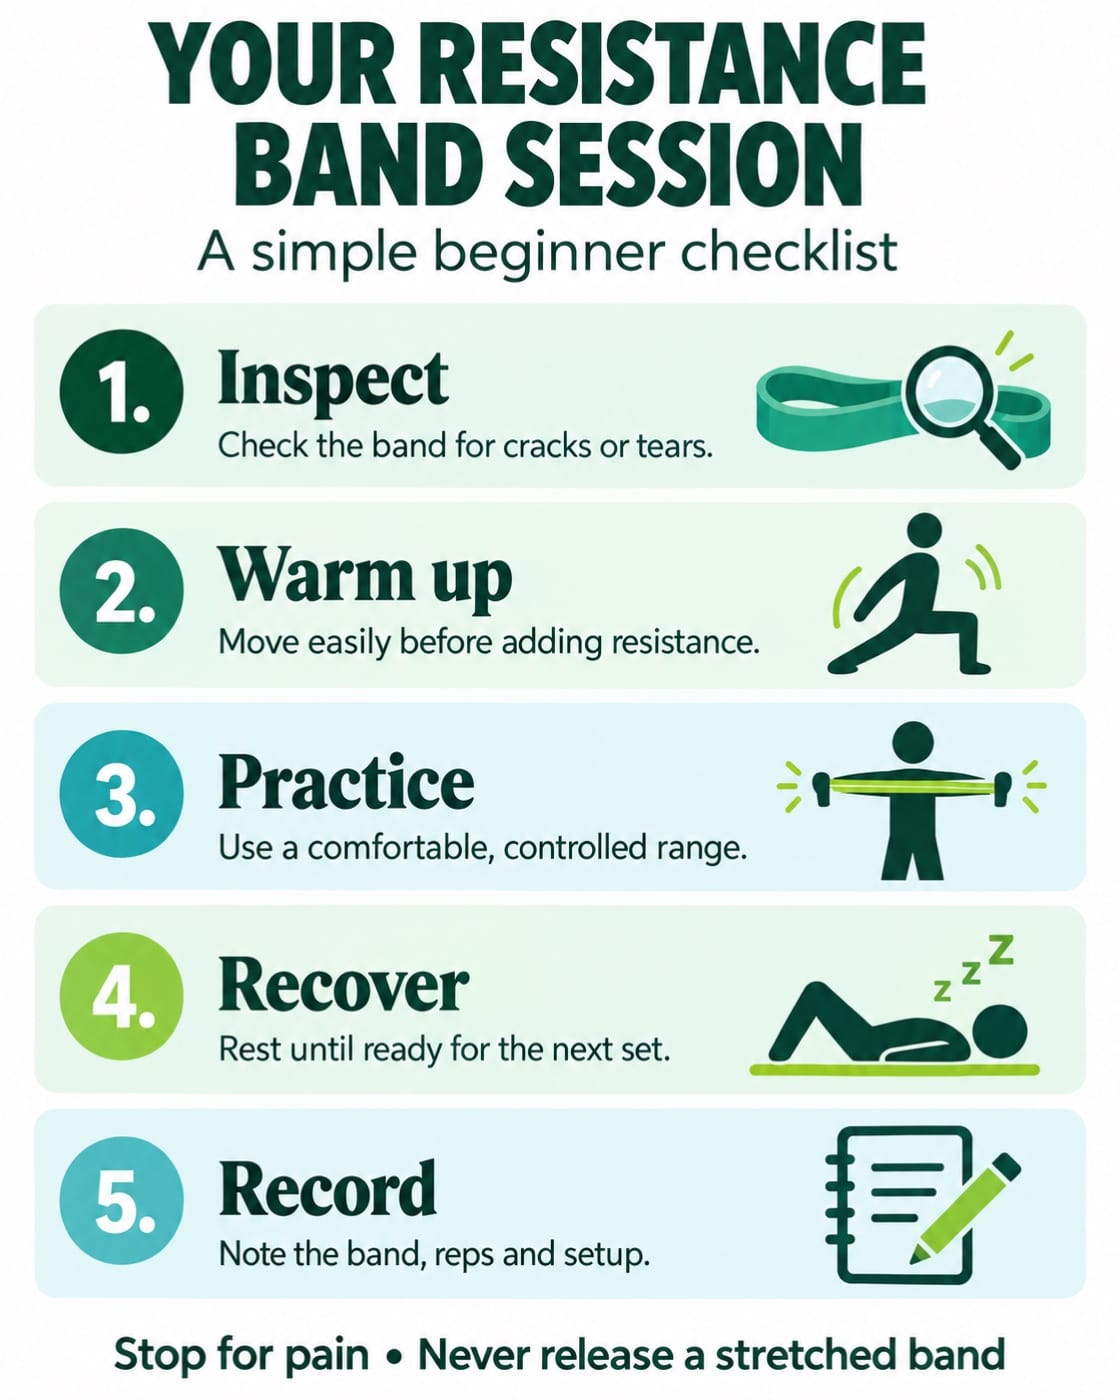
Examine the entire band for cuts, cracks, thinning, sticky areas, or damaged seams. Check handles and attachments too. Replace damaged equipment instead of testing whether it will survive one final heroic set. Keep bands away from sharp edges, excessive heat, and direct sunlight during storage.
Follow the manufacturer’s maximum stretch and anchoring instructions. Never improvise an anchor using a loose chair, light furniture, or a random door handle. If you use a purpose-built door anchor, confirm that the door and installation are appropriate and that nobody can open it during the exercise.
The routine below avoids a door anchor. Even so, a band held beneath your feet must stay secure under appropriate footwear and remain positioned as instructed by its manufacturer. Do not release a stretched band suddenly. Keep your face away from its recoil path and stop if the setup slips.
Warm up before adding resistance
Spend several minutes walking around the room, marching comfortably, and moving your shoulders and hips through easy ranges. Practice a few unloaded versions of the movements you plan to do. The goal is to feel ready, not to finish your workout before it officially begins.
Our beginner warm-up guide offers a longer option. At home, keep the preparation simple enough that you actually do it. Clear pets, toys, and rolling furniture from the exercise space. Your cat may supervise, but should not become part of the resistance system.
A simple full-body beginner session
Start with one set of each movement while learning. If that feels manageable and recovery is comfortable, work toward two sets. The ranges below are examples, not targets to force. Rest roughly sixty to ninety seconds, or longer whenever needed to begin the next set with control.
| Movement | Starting range | Main focus |
|---|---|---|
| Chair sit-to-stand | 8–12 reps | Lower-body control |
| Standing band row | 8–12 reps | Back and pulling |
| Wall push-up | 6–12 reps | Chest and pushing |
| Band biceps curl | 8–12 reps | Arm control |
| Mini-band side steps | 5–8 steps each way | Hip control |
| Dead bug variation | 5–8 reps per side | Trunk control |
This routine combines band exercises with bodyweight movements because simplicity is useful. You do not need to attach a band to every body part to justify owning one. The following setup notes explain where resistance belongs and when an easier option makes sense.
1. Chair sit-to-stand
Place a sturdy chair against a wall so it cannot slide. Sit near the front, keep both feet planted, and stand using a comfortable forward lean. Lower yourself with control rather than dropping onto the seat. Use hand support or a higher seat if needed.
Begin without a band. A light mini loop above the knees is optional once the basic movement is comfortable, but it changes the task and is not required. Keep the knees moving naturally over the feet. Do not force an exaggerated outward push.
2. Standing band row
Use a long band designed for this setup. Secure it beneath both feet according to its instructions, soften your knees, and hinge forward slightly with a comfortable back position. Hold the ends securely and draw your elbows toward your sides without jerking or shrugging.
Return slowly and keep the band positioned securely. If the setup feels unstable or makes your back uncomfortable, skip it and ask a trainer to demonstrate a suitable alternative. A lighter band and smaller comfortable range are better than wrestling your equipment.
3. Wall push-up
Place your hands on a solid wall around chest height and step back a comfortable distance. Bend your elbows to bring your chest toward the wall, then press away. Keep your body aligned and choose a distance that allows smooth repetitions.
This bodyweight pushing movement avoids routing a band behind your shoulders. When it becomes easy, a small position adjustment can increase the challenge. Use a stable surface, and avoid moving to low supports before you can control the current version.
4. Band biceps curl
Stand securely on a suitable long band with both feet. Hold the ends or handles, keep your upper arms near your sides, and bend your elbows. Lower slowly. Keep wrists comfortable and avoid leaning backward to finish the repetition.
If tension is too high, use a lighter band rather than shortening the movement into a tiny bounce. Check that the band cannot slip from beneath your shoes. Stop the set before your grip or stance becomes unreliable.
5. Mini-band side steps
Place a light mini band above your knees if the product supports that use. Take small sideways steps with softly bent knees and a steady torso. Move several steps in one direction, then return. Maintain control rather than chasing the widest possible step.
Try the movement without a band first if balance is uncertain. Use a clear space and keep nearby support available. A mild muscular challenge is enough; pinching, joint pain, or a loss of balance means the setup needs adjustment.
6. Dead bug variation
Lie on a mat and choose a comfortable beginner dead bug variation, such as alternating heel taps. Move slowly while keeping your trunk steady and breathing normally. Reduce the movement range if your back position becomes difficult to control.
No band is necessary here. Our dead bug exercise guide covers setup and easier progressions. If getting to the floor is difficult, ask a qualified professional for a suitable standing or seated alternative.
Build a weekly schedule you can repeat
Try two nonconsecutive strength days, such as Tuesday and Saturday. Begin with the shorter version and assess how you recover. The CDC includes resistance bands among muscle-strengthening activities and recommends working all major muscle groups on at least two days weekly.
On other days, add comfortable walking or another activity you enjoy. Strength work and aerobic activity serve complementary purposes. Our beginner cardio guide can help you plan that part separately. You do not need to squeeze everything into one exhausting living-room marathon.
During your first fortnight, prioritize learning the setups. Then gradually build repetitions or a second set if recovery remains comfortable. If you miss a session, return to your usual schedule. Doubling everything tomorrow rarely makes the habit more appealing.
How to progress with bands
Write down the band brand, color, exercise, hand position, sets, and repetitions. With bands, setup changes alter resistance. Moving your grip or widening your stance can make a familiar exercise feel entirely different, so consistency helps you understand what improved.
First add controlled repetitions within your chosen range. When the upper end feels manageable across repeated sessions, consider a slightly stronger band. Expect repetitions to drop. Do not stretch equipment beyond its instructions to create more resistance.
Our progressive overload guide explains this process with a training-log example. Change one main variable at a time. A stronger band, extra set, and shorter rest interval added together can produce plenty of fatigue without giving you useful information.
Mistakes that make band workouts frustrating
Choosing resistance by color alone: compare how the actual band behaves and read the manufacturer’s guidance. Color is a product label, not a universal strength standard.
Letting the band pull you back: control the return instead of allowing recoil to decide your speed. Reduce resistance if you cannot maintain that control.
Skipping the log: “used the blue one” is not enough when you own several brands. A brief note about your setup prevents unnecessary guessing next time.
Confusing discomfort with achievement: muscle effort is expected, but sharp pain and unstable positions are not goals. Stop and adjust rather than pushing through a questionable movement.
Frequently asked questions
Are bands better than dumbbells?
Neither is automatically better. Bands are portable and convenient; dumbbells make load easier to quantify. Choose the option that suits your space and exercises, or combine both as your routine develops.
Can I train with bands every day?
You can move daily, but repeating a challenging full-body strength session every day is unnecessary for a beginner. Start with recovery days between sessions and adjust based on your response.
How long should the workout take?
Allow approximately twenty to thirty minutes, including setup and warm-up. Learning may take longer initially. The clock is a planning tool, not a reason to rush a band connection or skip rest.
Keep your setup ready
Store the bands clean and dry according to their instructions, away from sharp objects. Keep your exercise notes with them so the next session starts with a plan. Before traveling, check whether your destination has enough clear space and a suitable surface. A portable workout still needs a sensible environment.
If you share equipment, inspect it yourself rather than assuming the previous user checked it. Label similar bands clearly and retire damaged ones promptly. These small habits make training smoother. They also prevent the familiar experience of spending more time searching for equipment than using it. Convenient storage supports a consistent routine at home.
Make the first session simple
Inspect your equipment, clear the space, and practice one comfortable set of each suitable movement. Record what you used and how it felt. Your first goal is a session you understand well enough to repeat.
With a reliable setup and gradual progression, bands can become a useful part of your training routine. Start modestly, keep control, and give consistency time to work.
Leave a Reply